Welcome, Bella Nest readers! Thank you for joining me today for...
Hello Bella Nest readers! My name is Sarah and I’m visiting from Adventures of Our Fami-Ly.
 |
| That guy giving me a smooch is my hubby, Dave |
I’m super excited to be here today at Drab 2 Fab and am so thankful to Holly for inviting me!
It’s no secret that I have a love for making over discarded furniture. It’s even better when it’s free! Where would you find free furniture you ask? Well, it might be waiting right outside your door.
I’m talking about in the alley.
People leave all sorts of things in the alley, and sometimes they just need a little TLC to really sparkle and shine.
And the alley is exactly where I found my latest project.
I was walking to my car one day after work and I spotted some items in the alley on the other side of our parking lot fence. There was a small dog or cat kennel, some scrap wood, and a bar stool.
 |
| The scene of the crime. (Photo taken with my phone, hence the bad quality) |
As soon as I saw the bar stool I immediately thought “that looks like a plant stand.” Don’t ask me why that popped into my head. So I stuck my arms through the bars of the fence, grabbed the stool, and shimmied it up and over and into the trunk of my car.
Yeah, that’s right. I’m one of those people.
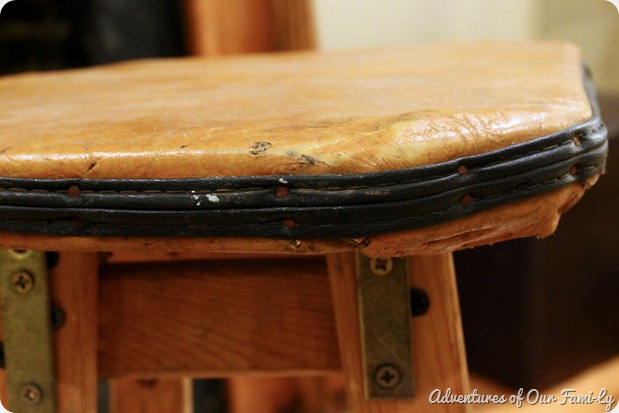
Here is the stool that I took from the alley:

I probably thought of a plant stand because this stool seems unusually skinny and narrow.
Here is a close-up:
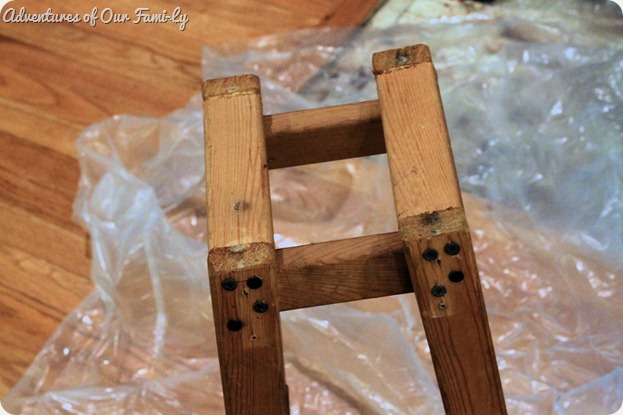
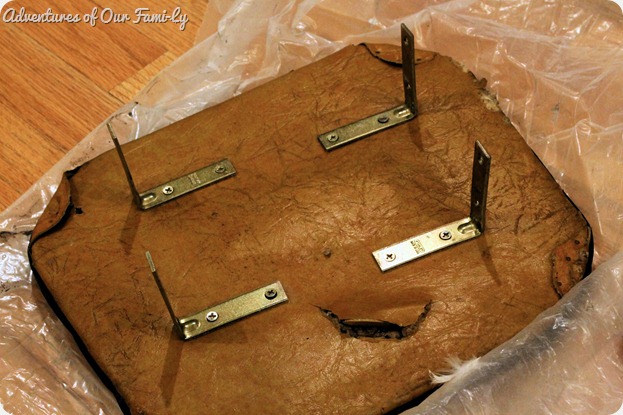
To begin the transformation I removed the seat from the rest of the stool.
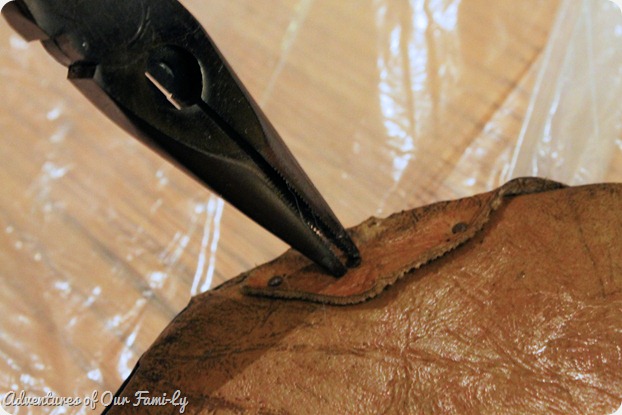
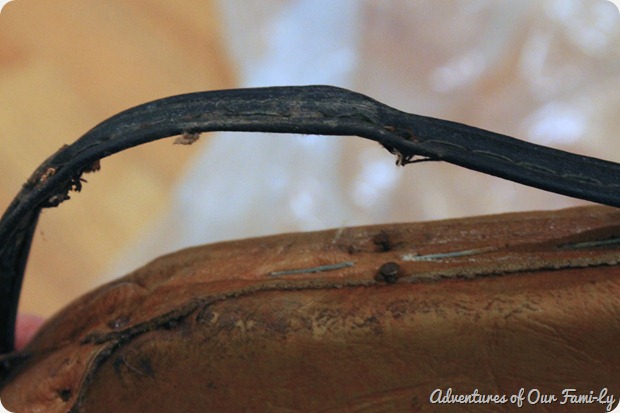
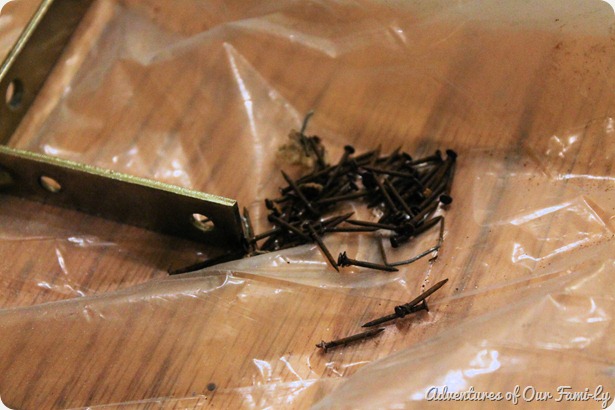
Then, I took off the L brackets and began removing all those stinkin’ staples and nails. There were lots!
About 30 minutes, and 3 blisters, later I was ready to take off the old leather covering. My plan was to take off the cover and re-use the original wood from the seat.
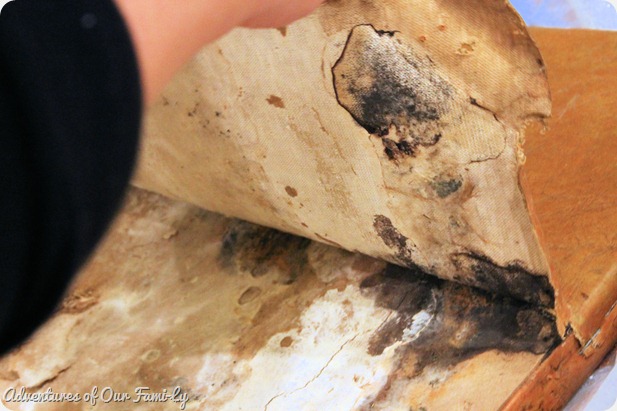
However, when I pried up the leather I found this:
MOLD!
And lots of it!
There was no way I was going to even try and scrape this off. The whole seat had.to.go!
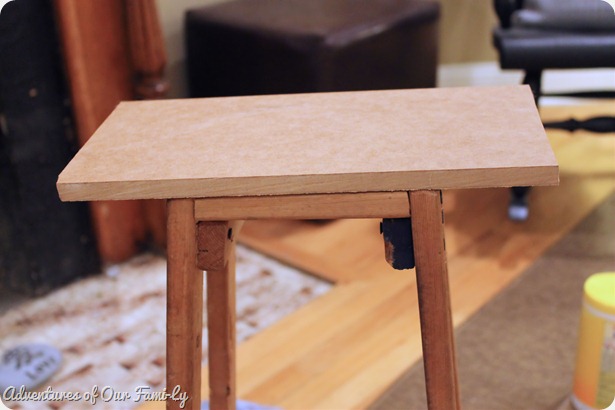
So, I had to improvise a new top for my plant stand. Luckily we had some already cut pieces of MDF from another project we will probably never finish haven’t gotten to yet.
It fit perfectly!
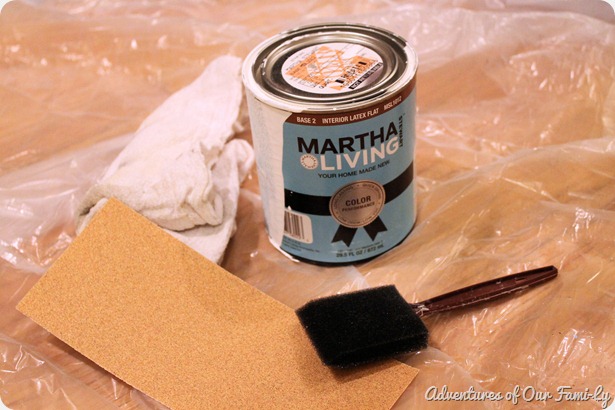
Now that I had all my wood ready, it was time to paint. I used some white paint, from Martha’s discontinued line, that I already had in the house.
All the wood got 3 good coats and were ready to go!

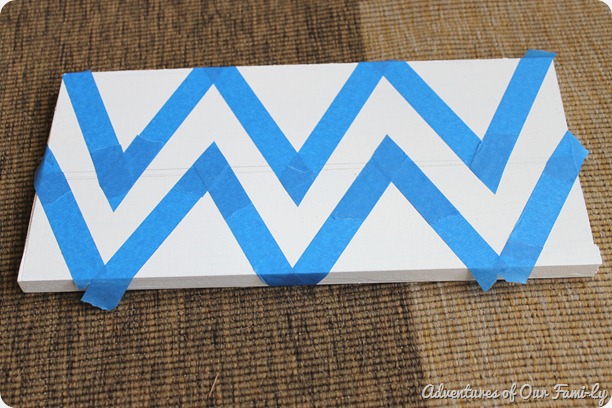
I wanted to give the top of the plant stand a little pizzaz so I decided to add a chevron pattern. Gotta love chevron, right?
I’m a don’t-like-to-measure-eyeball-everything kind of girl, so for making this pattern I just used painter’s tape and eyeballed the lines.
It’s not perfect, but I wasn’t too worried since most of it would eventually be covered by a plant.
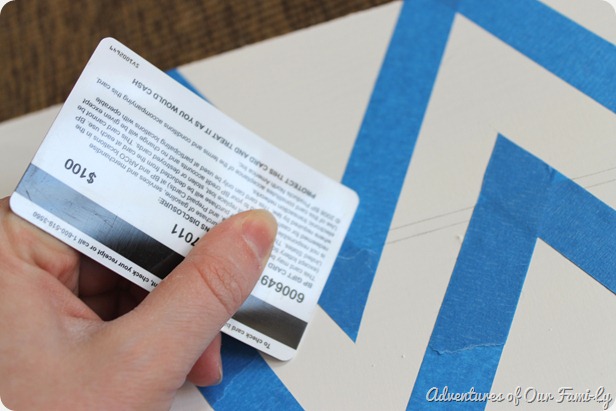
Before I painted it grey I used a gift card to smooth down the tape to make sure no paint could seep under. Seeping paint=not crisp lines.
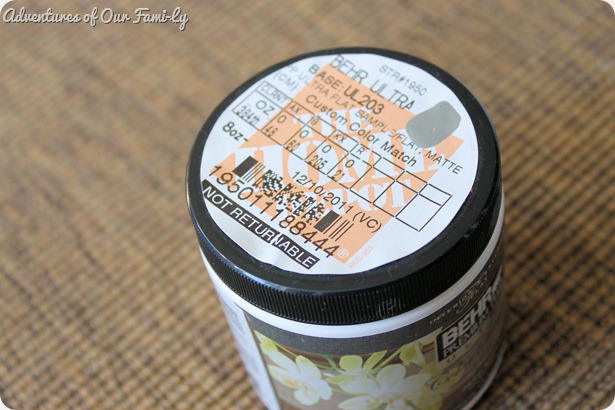
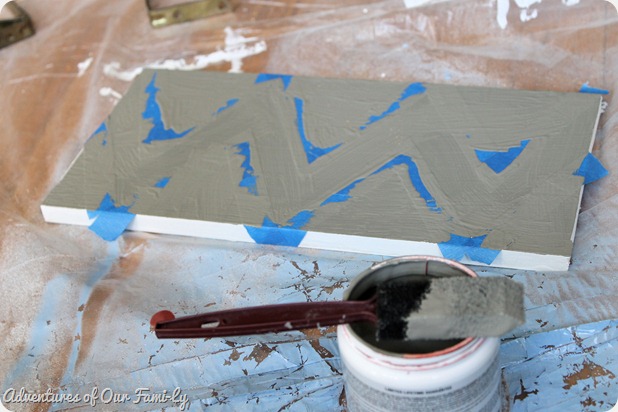
Next came the grey. I used a sample-sized pot that I had purchased when testing out colors for my topless table.
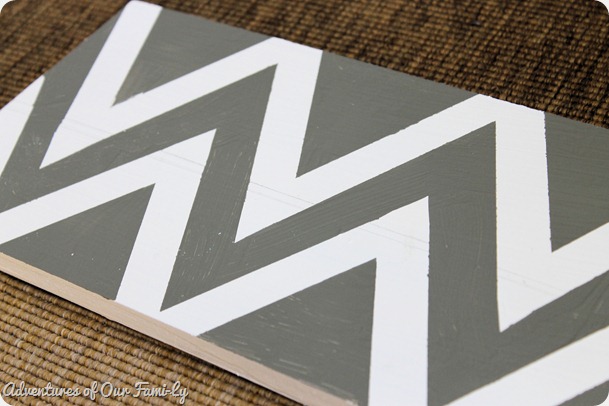
Now the trick for getting crisp lines is to remove the tape when the paint is just dry to the touch. If you wait too long you’ll end of peeling some of the paint up.
Now you probably noticed that the grey paint could use another coat. I did go back with a small craft brush and fill in the parts that needed it most. But again, a plant would be covering it so I wasn’t too concerned.
Then came 2 coats of poly to seal the paint and protect it from any moisture that might come from the plant pots.
The last step was to attach the chevron top to the rest of the stand.
{Enter my tool man-Dave.}
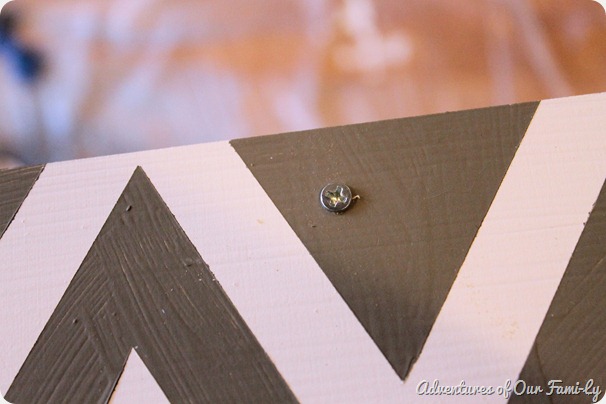
He drilled long screws down through the top into the legs of the stand.
But what is a plant stand without a plant???
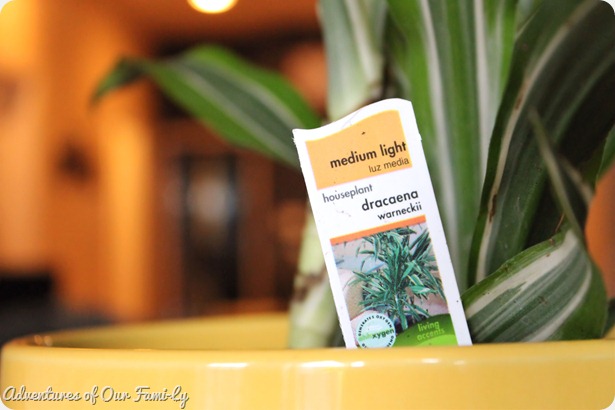
I wanted to go with something that was cheery and vibrant green. I really don’t know much about plants so my only criteria was the color and a plant that only needed medium light.
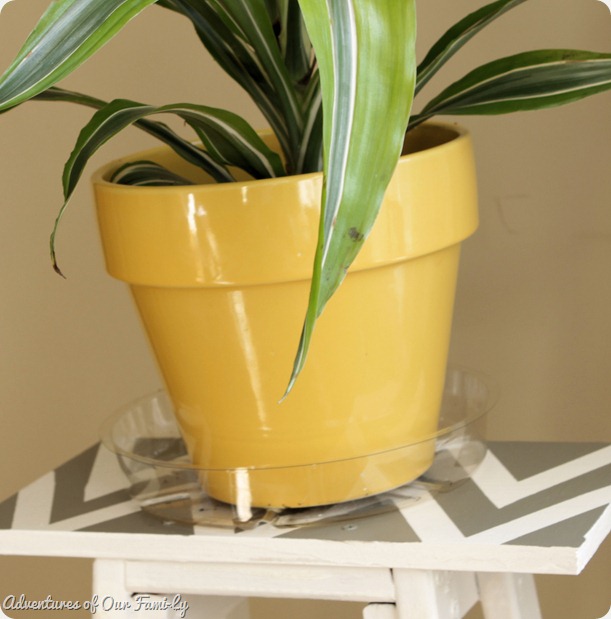
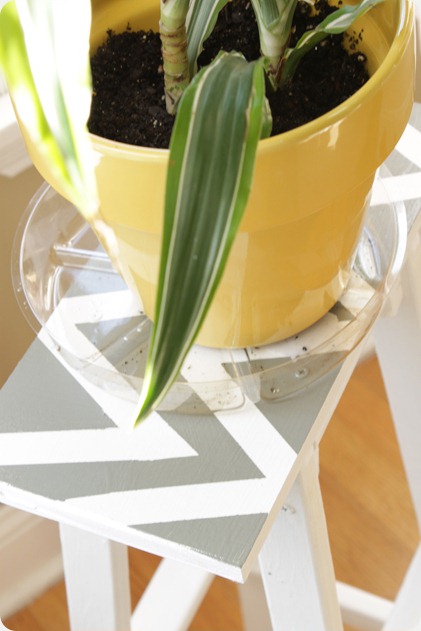
I went with this sunny yellow pot because I knew it would go well with the grey and because it’s such a happy color. Oh how I long for spring to be here!!!
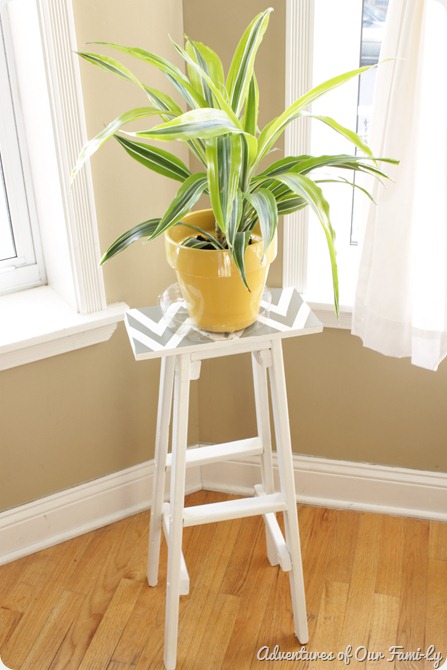 |
| During the day our curtains are closed since we’re at work. So, this guy will not be getting this much light during the week. |
\
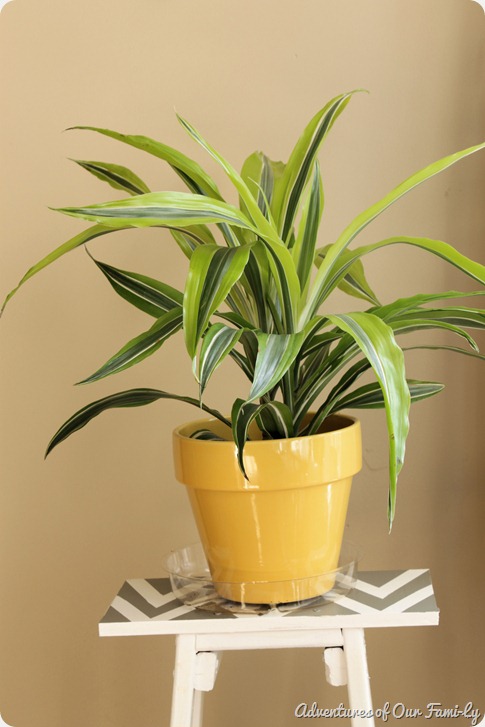 |
| Pretty cute, right? |
The total cost for the plant stand was zero point zero dollars. Total cost for the whole project was $15.00 ($5.00 for the plant and $10.00 for the pot).
So, do you have any old bar stools laying around that you could convert to a plant stand?
Have you searched the alleys around your home for diamonds in the rough? Well, get a’lookin’ cause there are great things to be found!

Thanks again, Holly, for having me today!
Can’t wait to see you all over at Adventures of Our Fami-Ly
Xoxo,
Sarah
Bella Nest linked up with these great parties:
Bella Nest linked up with these great parties:







It's beautiful!! You did a great job. Love the chevron design. I would have never thought of that. I love curb side shopping and ocassional dumpster diving! LOL Re-purposing is great fun & theraputic. It's amazing what people throw away.
ReplyDeleteAmazing, I love the bright flower pot!
ReplyDeleteStopping over from Sassy Sites to tell ya how much I adore your plant stand! The yellow flower pot and chevron pattern are great!
ReplyDeleteTwo of my favorite bloggers in one place. And that photo of you and Mr. Ly is too darn cute.
ReplyDelete~Bliss~