Showing posts with label trees. Show all posts

12.12.2011

sOmE hOliDaY dEcOr

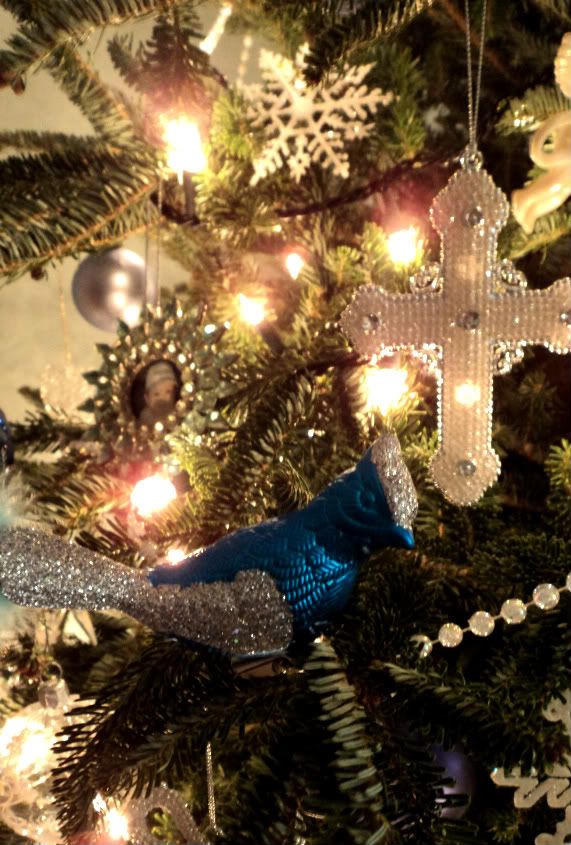
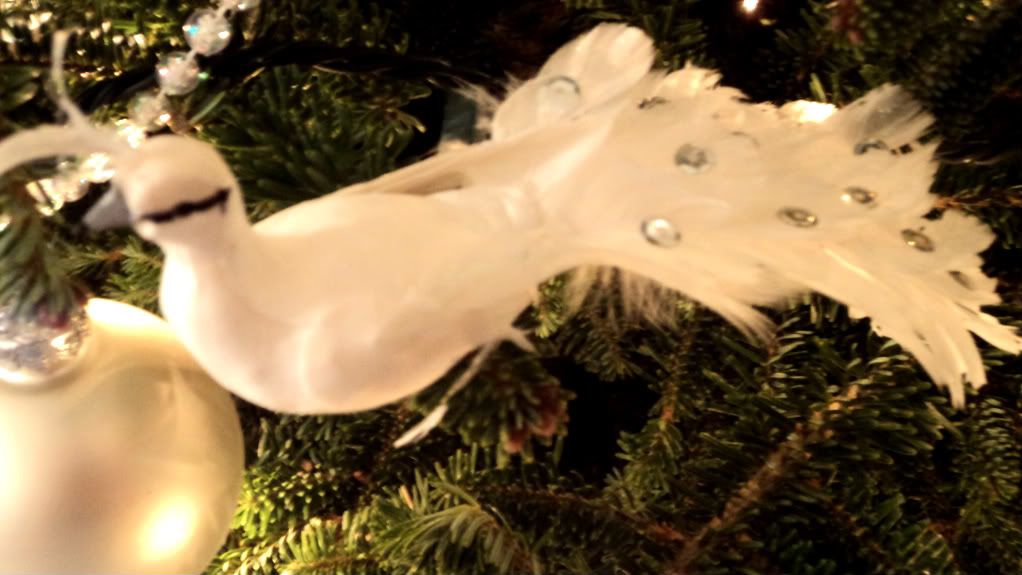
Happy Monday, friends! Thank you so much for stopping by today! In case you haven't figured it out yet, birds are my favorite! Okay! That reminds me of a line from one of our favorite Christmas movies, Elf, "Smiling's my favorite!"  
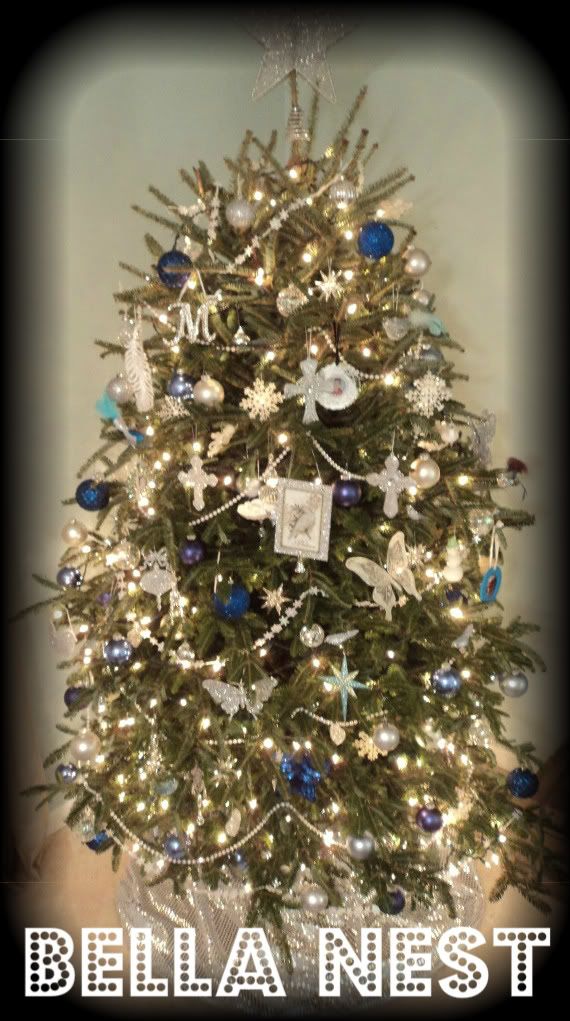
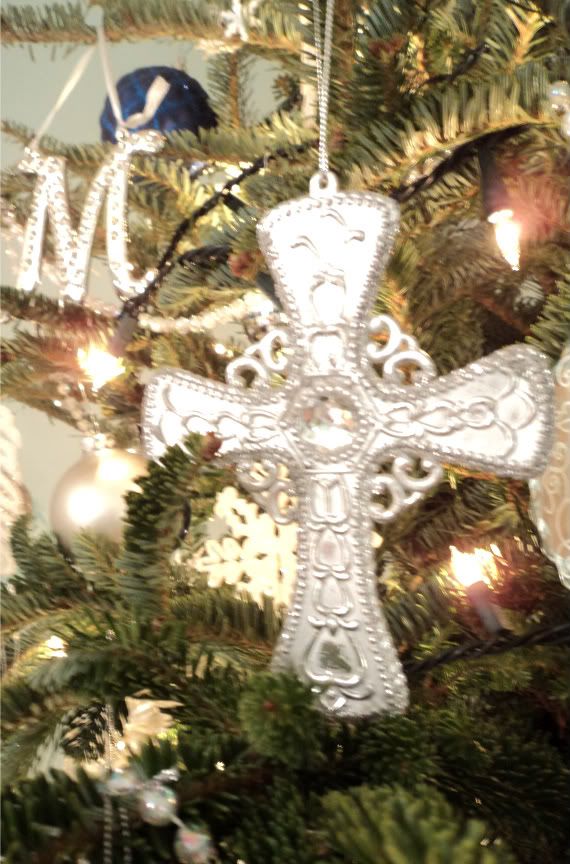
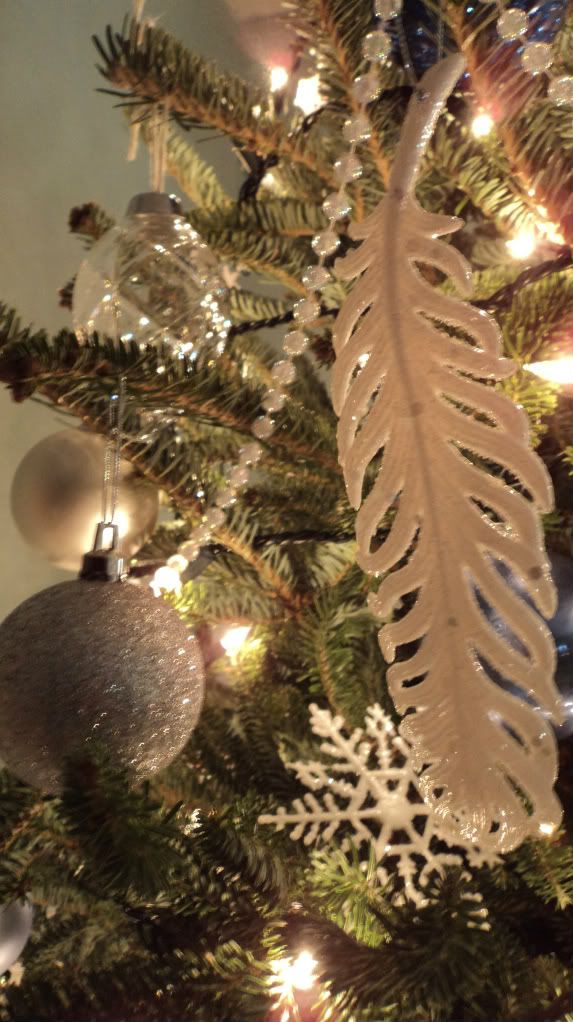
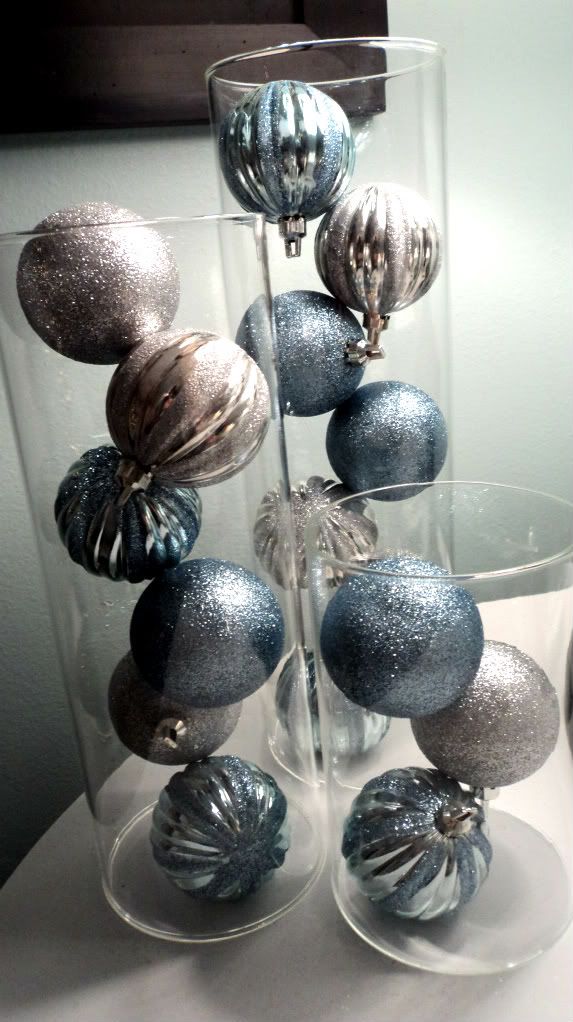
Each year I decorate our main tree in silver, white, and different shades of blue. We call it our bird tree, but I also incorporate other favorites like crosses. =)
After all, Christmas is about celebrating Jesus birthday and the cross is a reminder of what He came to earth to accomplish. Because of His death, we can live an abundant and eternal life. What an awesome gift He chose to give us! I'm so thankful!

 So how do I follow this up? I can't! But I would like to share with you my living room decor, so here goes...
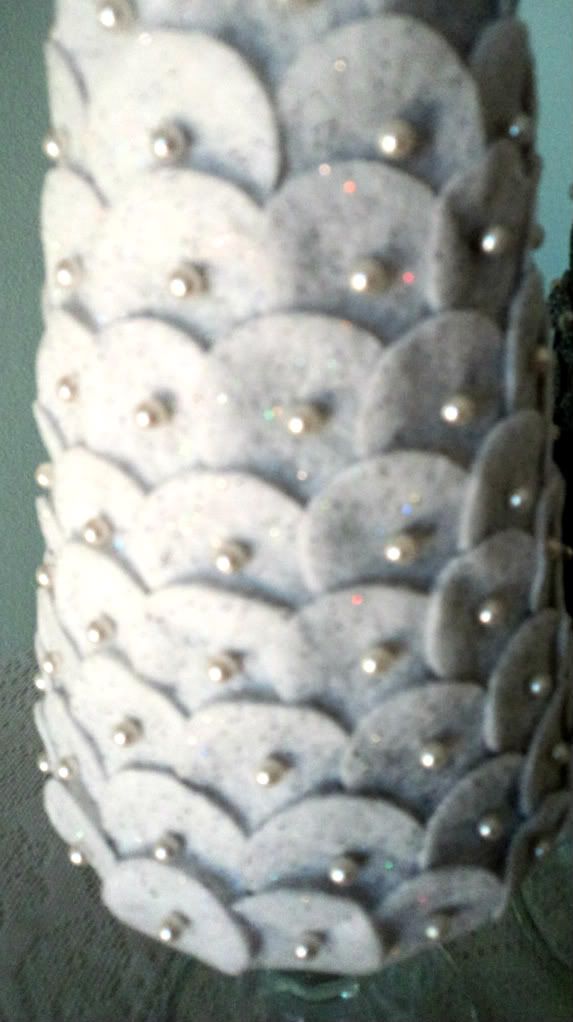
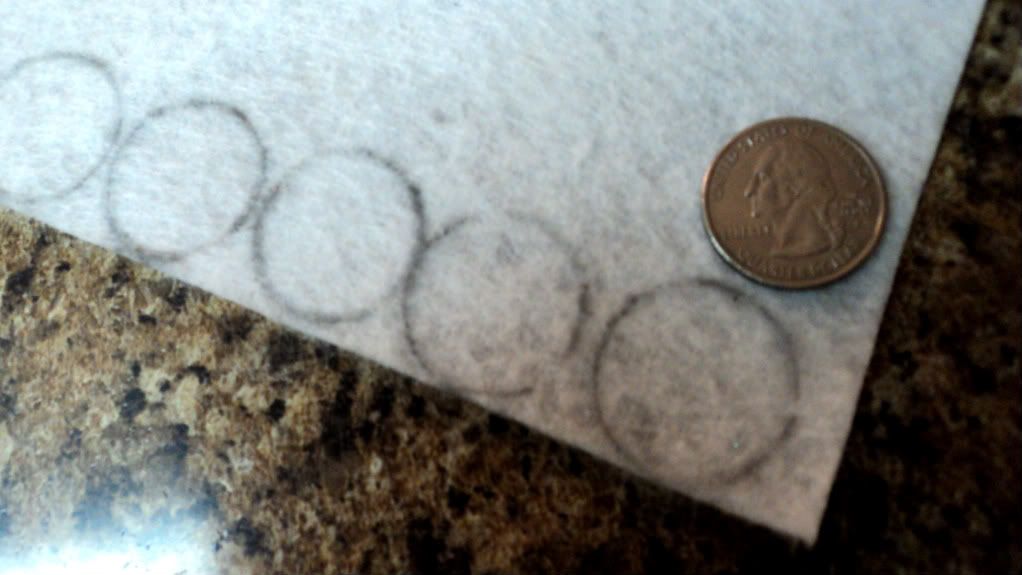
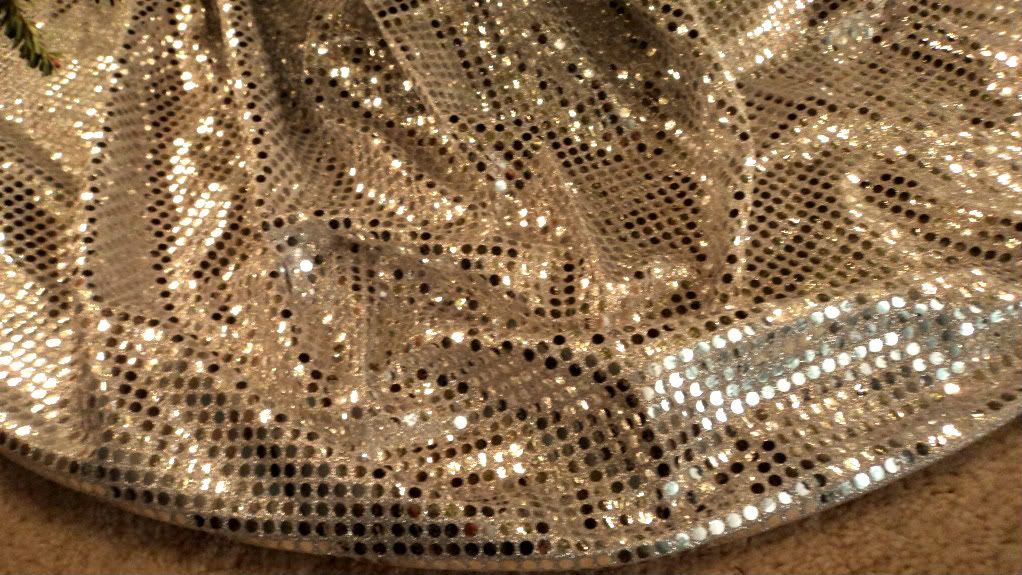
a better look at my sequiny tree skirt...
...and some ornaments...


my makeshift mantle...

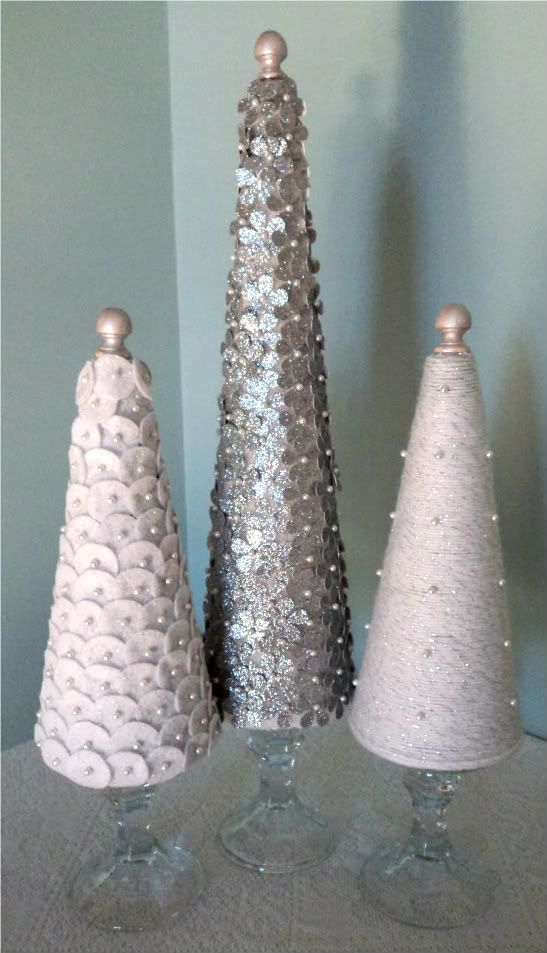
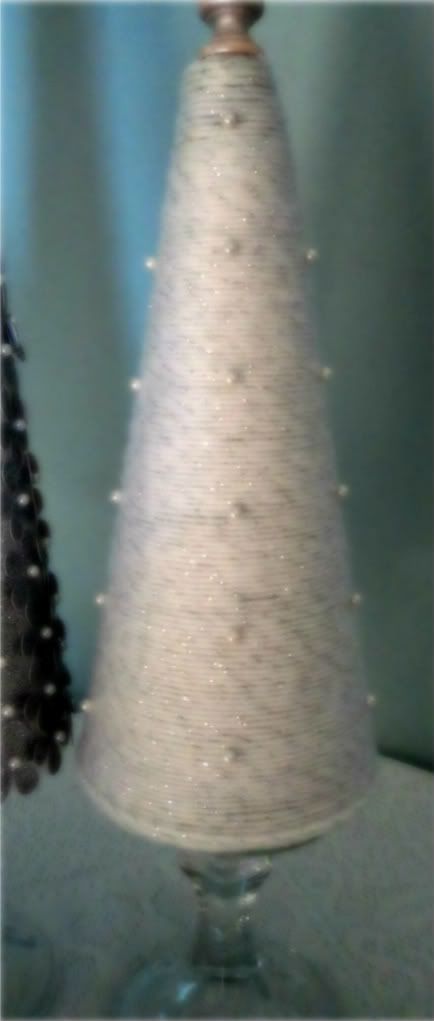
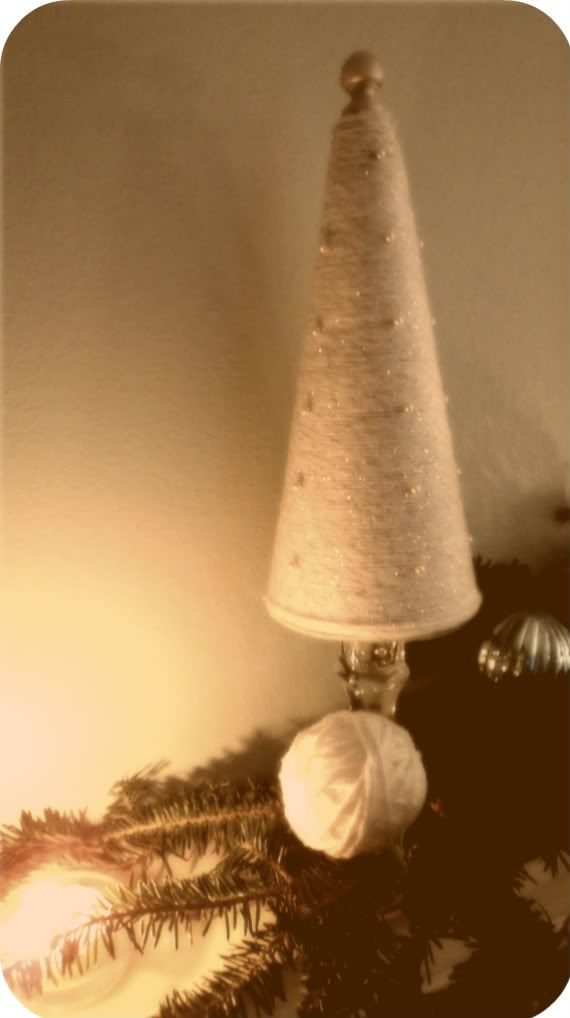
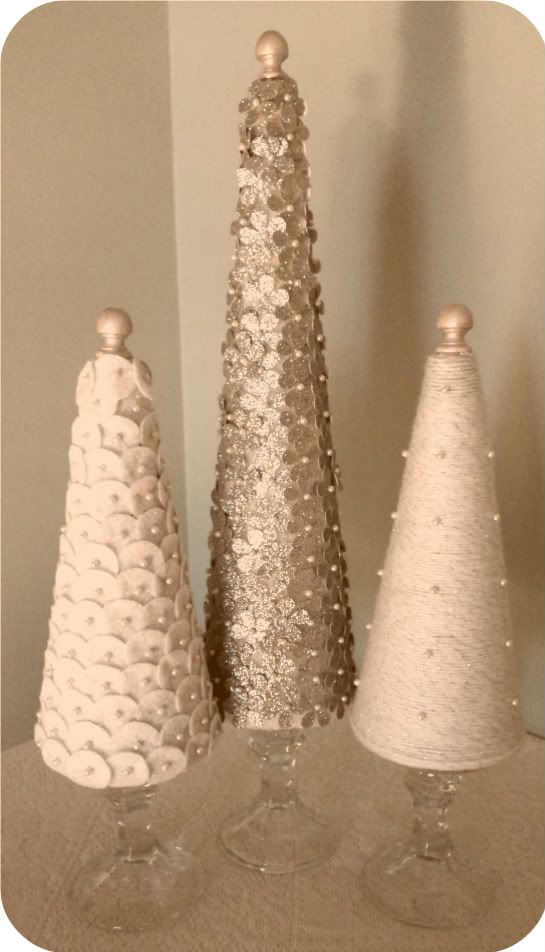
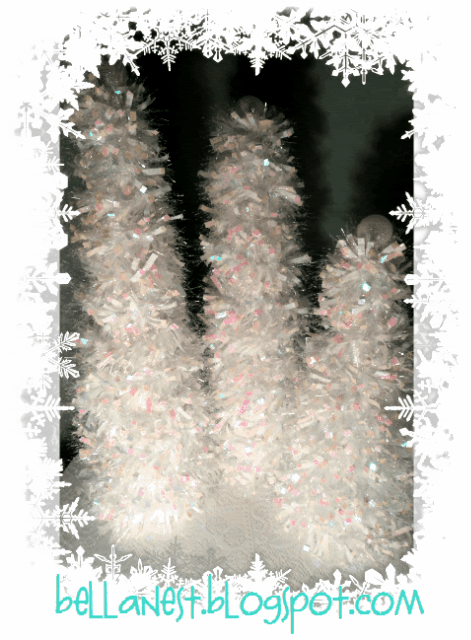
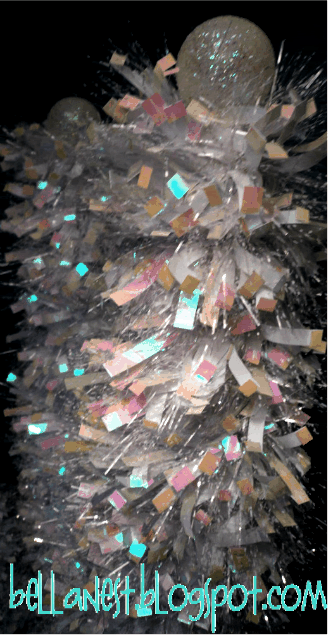
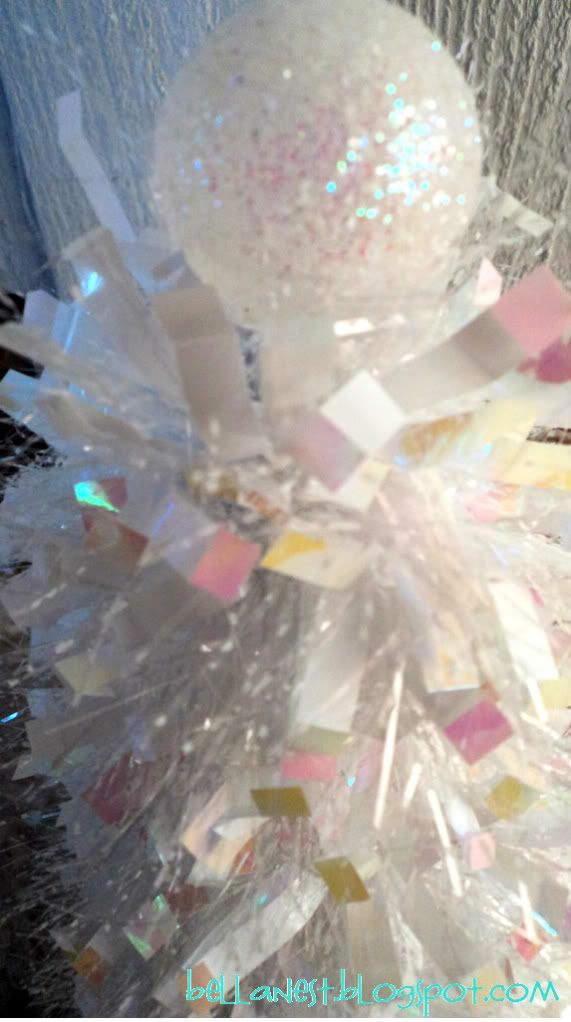
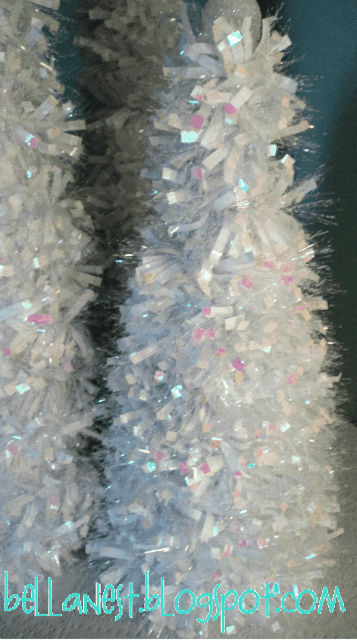
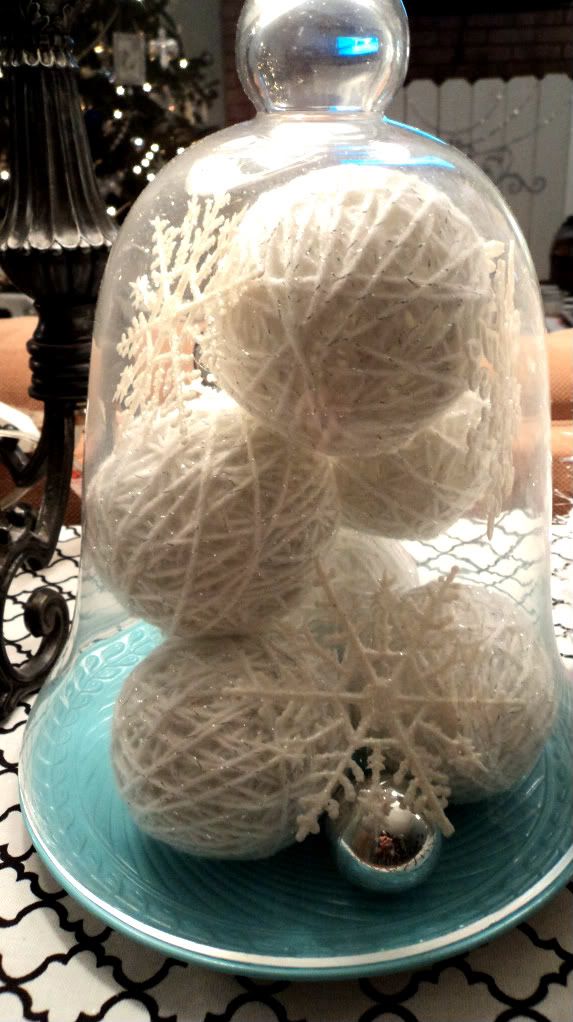
These are styrofoam balls wrapped with white and silver yarn from one of my tree projects.
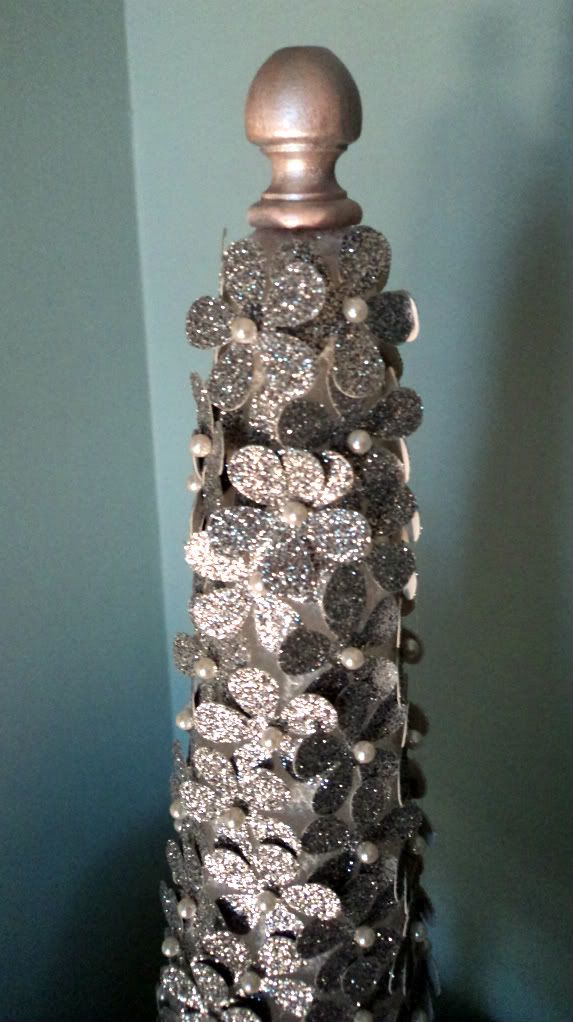
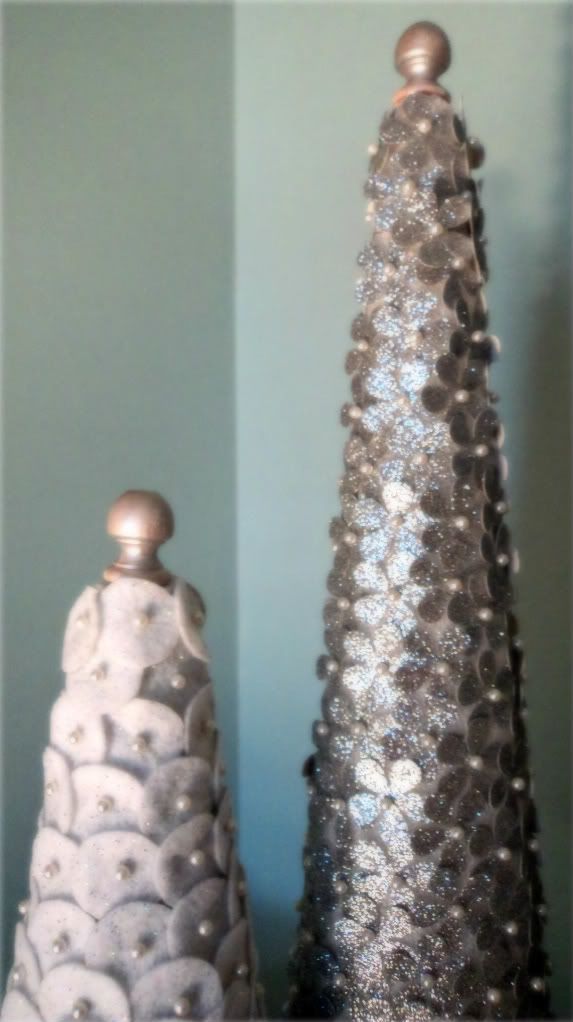
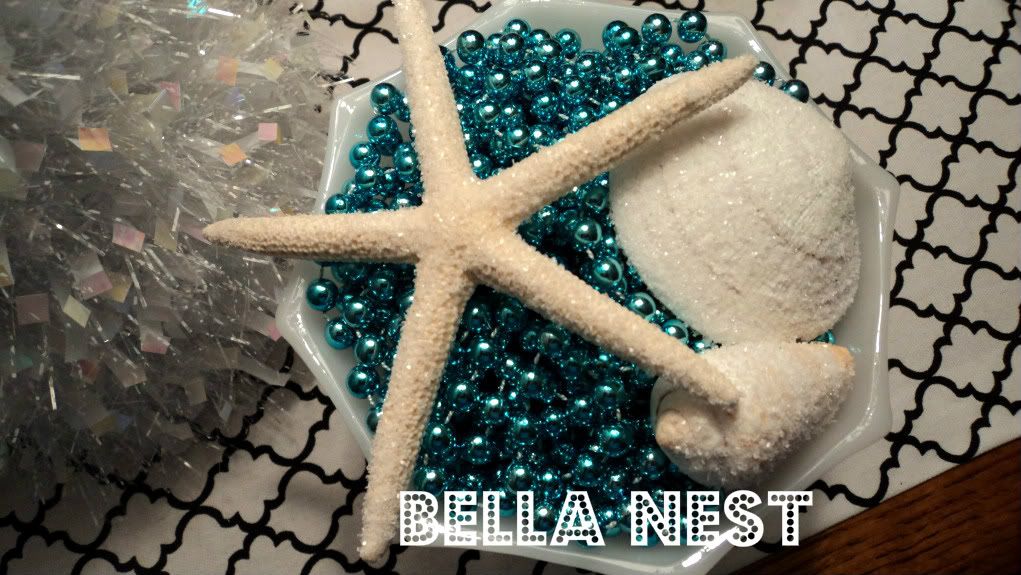
I used Elmer's glue and glitter to add some sparkle to these... 
Thank you again for stopping by! This whole blogging thing has been such a fun experience and I can't wait to get to know you better and check out more of your creations! Much love to you! 


We linked up with:

12.05.2011

It's a glamorous white Christmas!

Hiya there, friends! I'm super excited to share with you my styrofoam trees. The supplies needed are in red, and as usual, most of them came from Hobby Lobby. Yes, I do love that place!!! 


This one was super easy to make. First, I wrapped the styrofoam tree with yarn that I found at GW for $1! I just love the white with silver sparkle! I used pearlized pins to add more bling. I hot glued the finial on to a peg and attached them to the top. I painted the finials with a metallic acrylic paint.
I hot glued the trees to a candlestick I bought from D.T. 


For this one I used 2 pages of sparkly white & silver felt and pearlized pins.


This is the hard way! If you have a punch out, use it, or this will take a while to do.


This one is my favorite! I used this flower punch on glittery, scrapbook paper and pearlized pins 
to hold them in place.


I'm so happy you stopped by today! Please come back and visit again!


Bella Nest linked up with:
MakingTip Junkie handmade projects
Confessions of a Stay At Home MommyNightOwlCraftingSomewhat Simpleshabby creek cottageKatie's Nesting SpotThriftyThurs Thrifty Thursday Week 52
Tuesday To Do PartySerenity youhttp://www.thegrantlife.com/search/label/financial%20friday


12.02.2011

Tinsel Trees

This is a very simple and inexpensive craft that you could probably make with supplies laying 
around the house. 
Supplies: 3 pieces of poster board ($1), tinsel (regular $6.99 + 50% off @ Hobby Lobby), hot glue (free), ball ornaments (regular $3.99 + 50% off also from Hobby Lobby) 
Project Total: $13.46


To make the trees, I tried to use the template I found on Pinterest, but I wasn't able to get it exactly right. =( 
 I cut them just like she did at The Creativity Exchange...


...but after I formed the cone, I ended up cutting some off the bottom.
Hopefully you can understand her tutorial a little better than I did. 


I hot glued the tinsel at the top and wrapped the tree adding a dot of hot glue here and there. I used one 12 ft. tinsel per tree, but if you're going to use another color besides white, I would recommend using more than one to avoid gaps. I then took a ball ornament and turned it upside down, added some hot glue and filled in the hole at the top.  You could use snowflake ornaments or any kind that can be turned upside down.


I've been busy working on more trees, so be sure to stop back by for more ideas! 


I linked up with:
  Weekend Bloggy ReadingSunday's Best Linky Party!
Serenity you