Woop Woop!
Yesterday I promised to share how I made my pleated burlap shade, so here goes...
{Oh and when you're done here, please go check out my guest blog at Polish Boutique!!!}
You'll need a lamp shade, 1 yard of burlap, and a hot glue gun for this project.
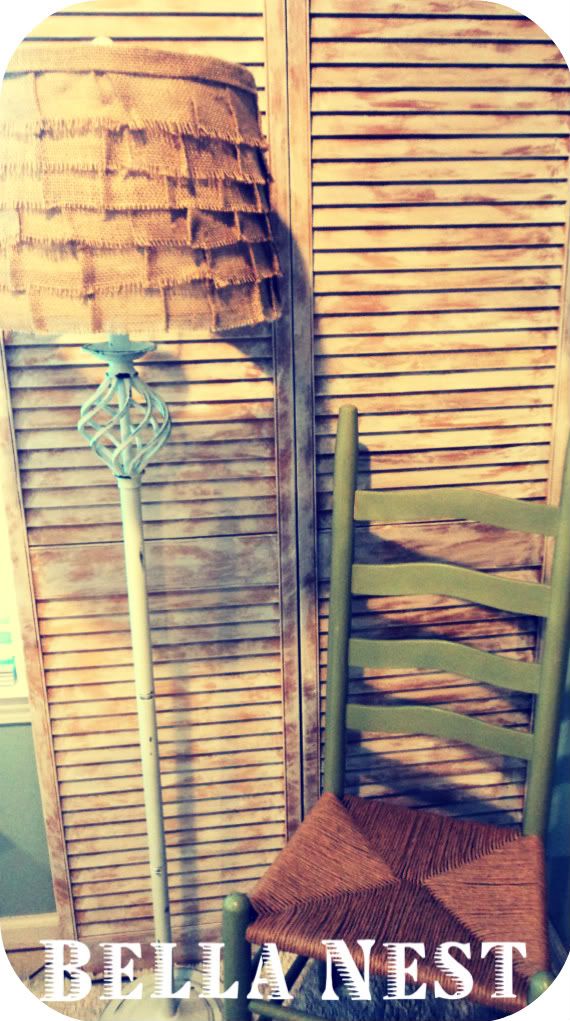
Let's start with our large, ugly lampshade.

oooooo... BLAH!
Take all that ugly off!
Once I took the material off the top and bottom, it was easy to pull off the rest.

Measure around the top of your shade and cut your burlap to size. This strip is 2 1/2" thick.

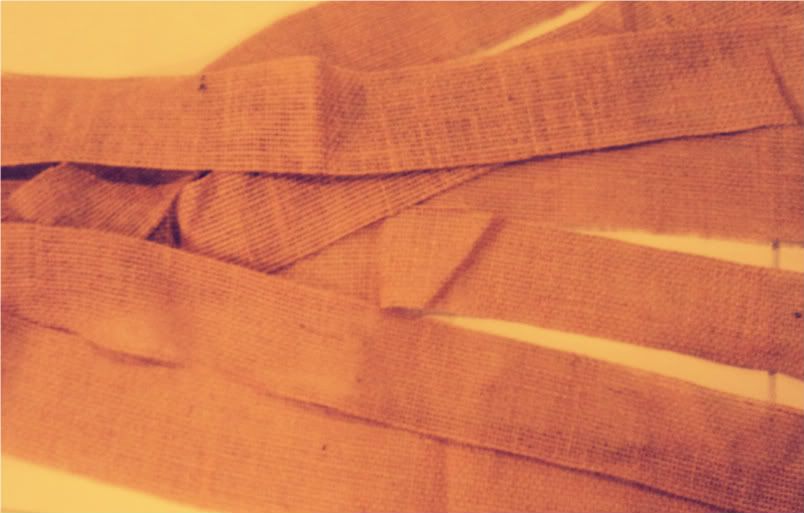
Cut strips as long as your fabric is. Mine were 3 inches thick, but you can go as thick or thin as you'd like your pleats to be.
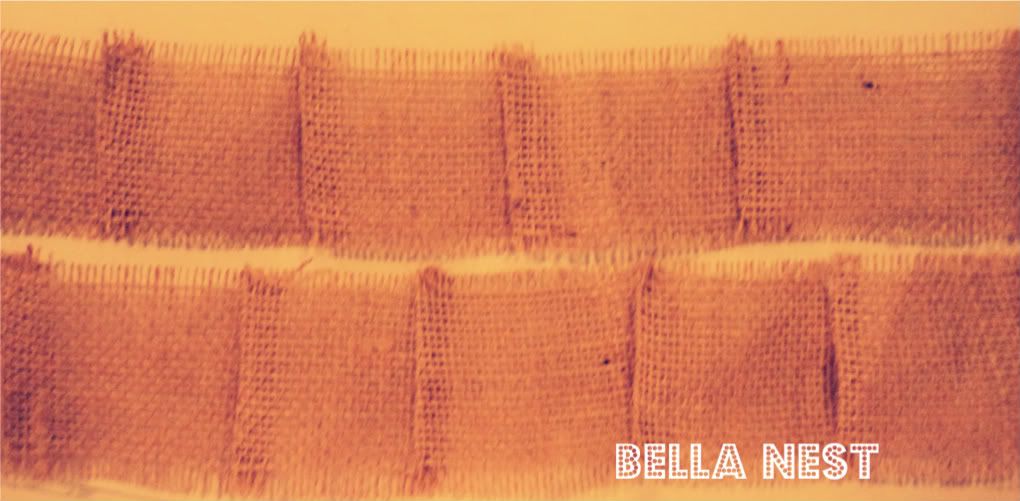
Every few inches, fold your fabric over. I started ironing the folds down, but quickly realized it was going to be a very tedious process if I continued... so I just hot glued them down.

This is what they look like glued down.
Start with the strip at the top and hot glue it down with a dab here and there at the top of the fabric. Leave room at the bottom so you can tuck the pleats underneath. Do this all the way around.
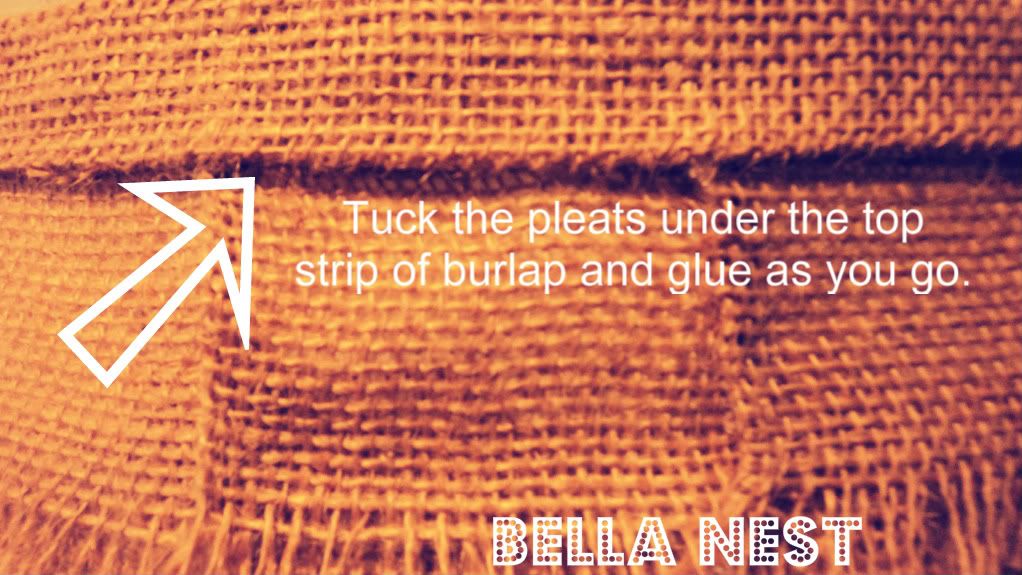
Continue each layer underneath the other keeping them as even as possible.
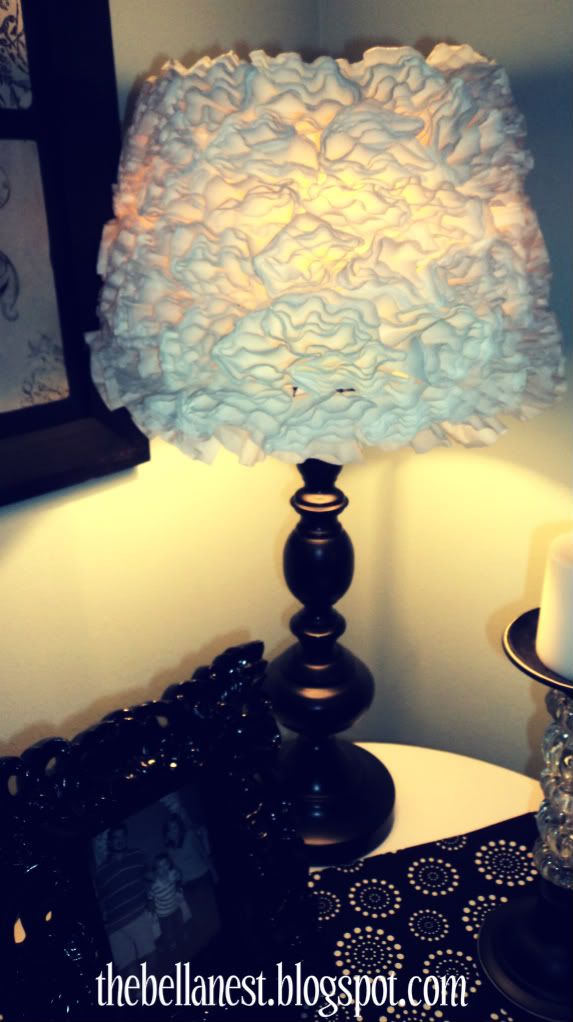
And Voila! Your pleated lamp shade is ready for it's debut!

So what did you think? I have to say I've never been one to read instructions, but more of a look at the picture and run with it kind of person, so I hope these instructions were clear. =/ Please let me know if I can clarify anything for you.
Hugs,

Bella Nest is partying with these fun blogs: