Showing posts with label fabric. Show all posts

10.26.2011

Round Table Re-do

Hello! Happy Wednesday, everybuddy! I hope you are having a blessed morning so far. 
This is the day that the Lord has made! Rejoice and be glad in it!

I have so many projects going on right now... a chair I need to get to, a hutch thingy (not sure exactly what it's called) for my dining room that needs some tlc, wooden pumpkin signs galore I've been asked to paint for Caleb's school, a cedar chest that I'd like to paint and make into a bench, and the list goes on and on and on... Just not sure when I'm going to have time to get to everything!!! But that's ok, b/c today I'm choosing to rejoice! Everything will work out just fine! 

Today however, I want to share with you a project I completed a few weeks back. The story behind it started when my neighbor called to see if I would be interested in a little table she'd already thrown in the dumpster. I jumped on that right away! It was perfect timing! I'd seen so many table before and after pics on Pinterest, that I was eager to get started on a restoration project myself.
 Here's what she looked like when we picked her up:
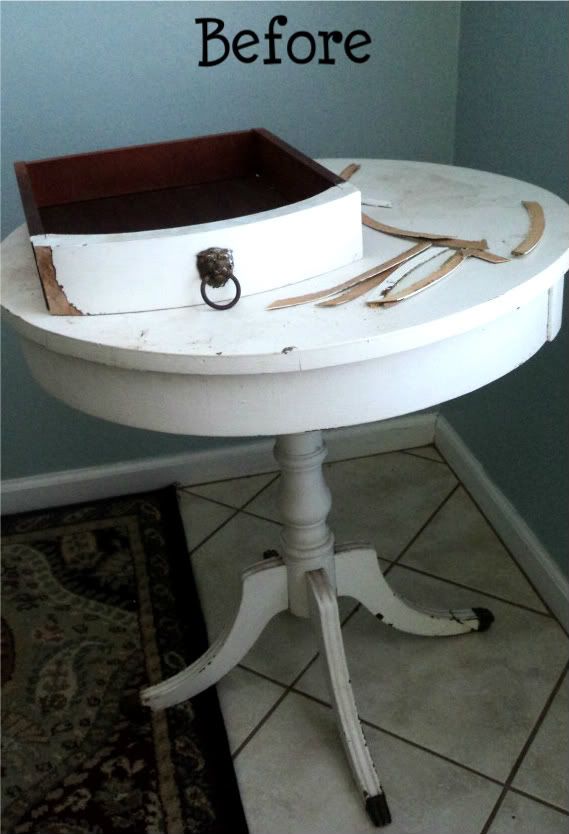
I just loved the lion head pull and spindle base.
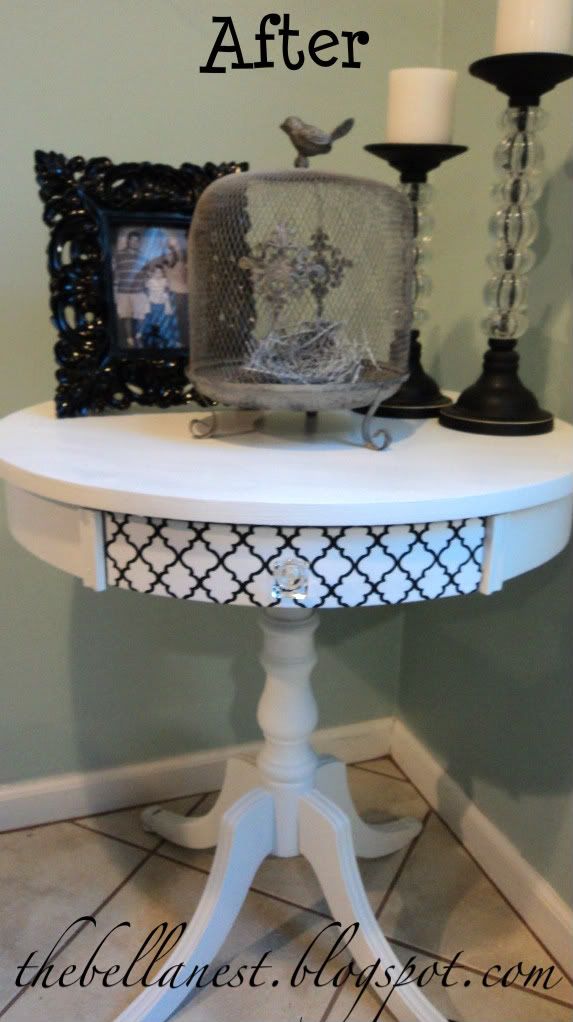
Isn't she darling?!
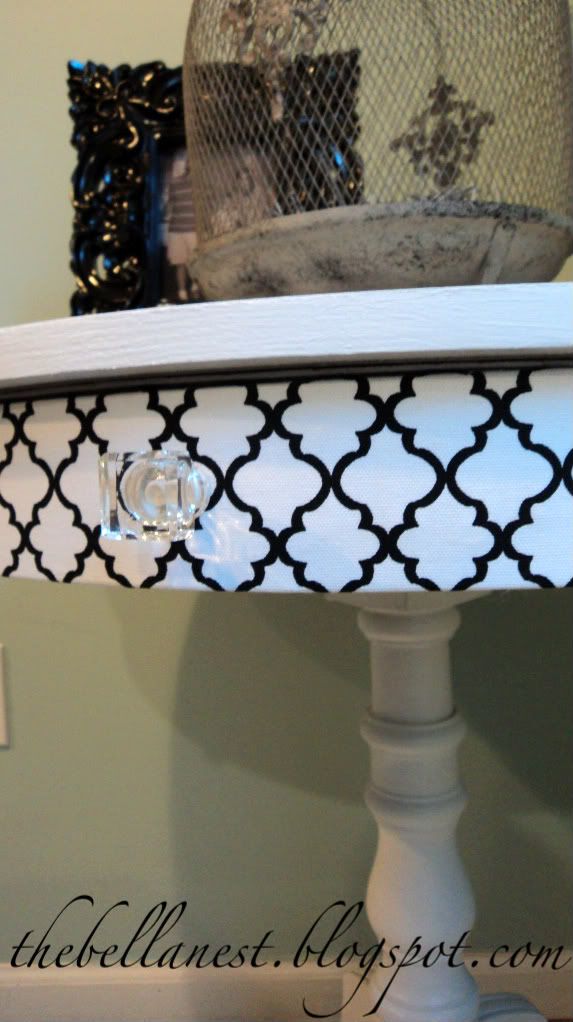
I covered the beat up drawer with fabric and added a glass knob. 
I couldn't be more happier with this sweet little table!

I've linked up with:
HookingupwithHoH
Somewhat SimplePhotobucketWeekend Bloggy ReadingThe Crafty Nest
Chic on a Shoestring DecoratingTuesday To Do Party

10.19.2011

Some Easy Wednesday Projects

I've had a vintage Singer sewing machine for over 12 yrs. now (since my hubby & I got married...whoa! where has time gone?!).  And because I have yet to replace the pedal that was lost years before, I've never learned to use it! So I've settled for Liquid Stitch instead. I absolutely love me some L.S.! These materials came from Hobby Lobby and with their fabric & ribbon usually on sale, these projects were really cheap.


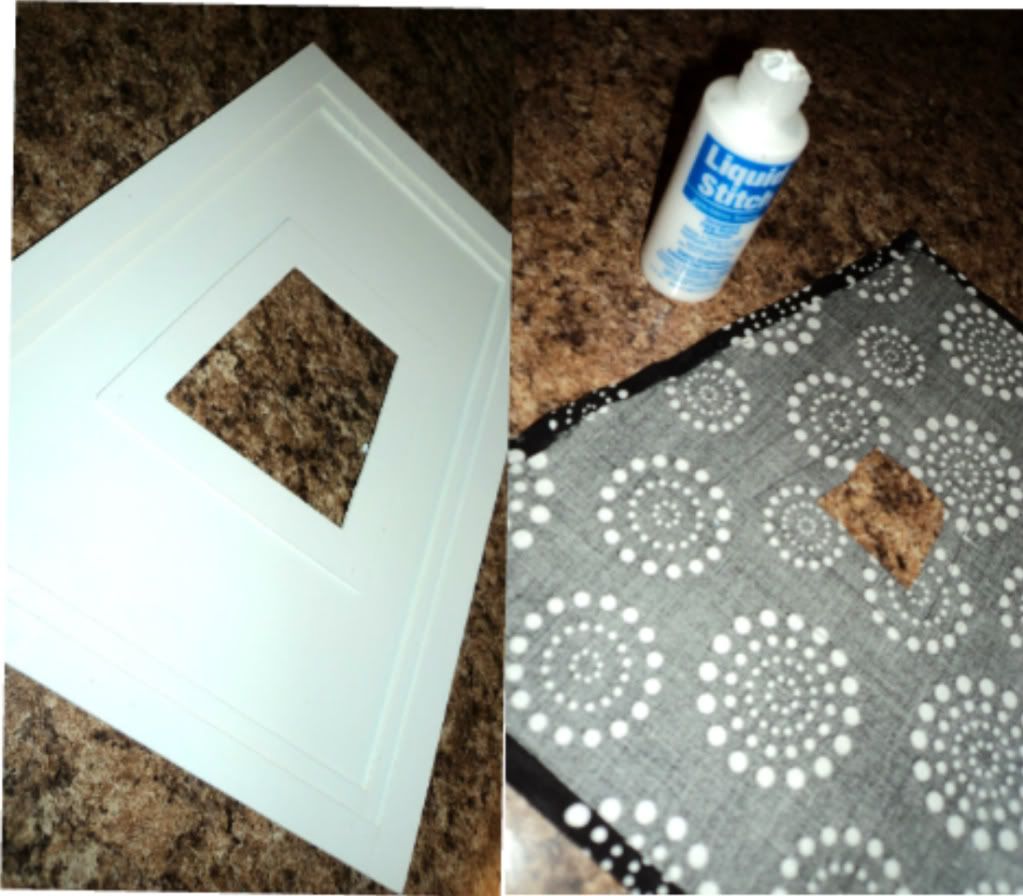
You'll need a frame, fabric, Liquid Stitch, pencil and a hot glue gun
Turn the fabric upside down and trace around your frame with the pencil. I left about a 1/2" all the way around and used the liquid stitch to glue it down.  I cut a little slit in the middle of the fabric and cut out the picture opening where I'd traced. 
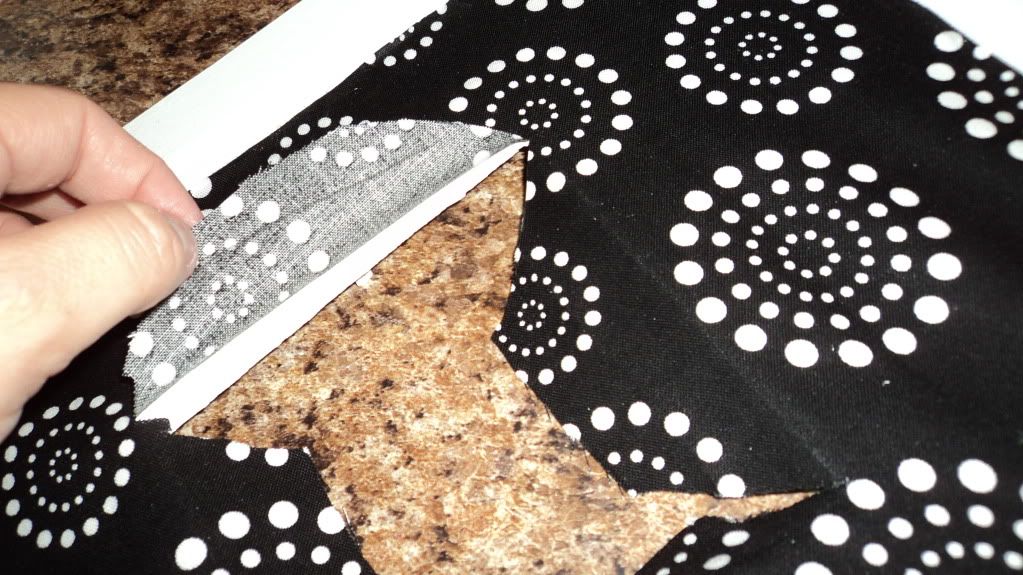
Cut diagonal slits on all 4 corners. Fold these back and hot glue them to the back of your frame.
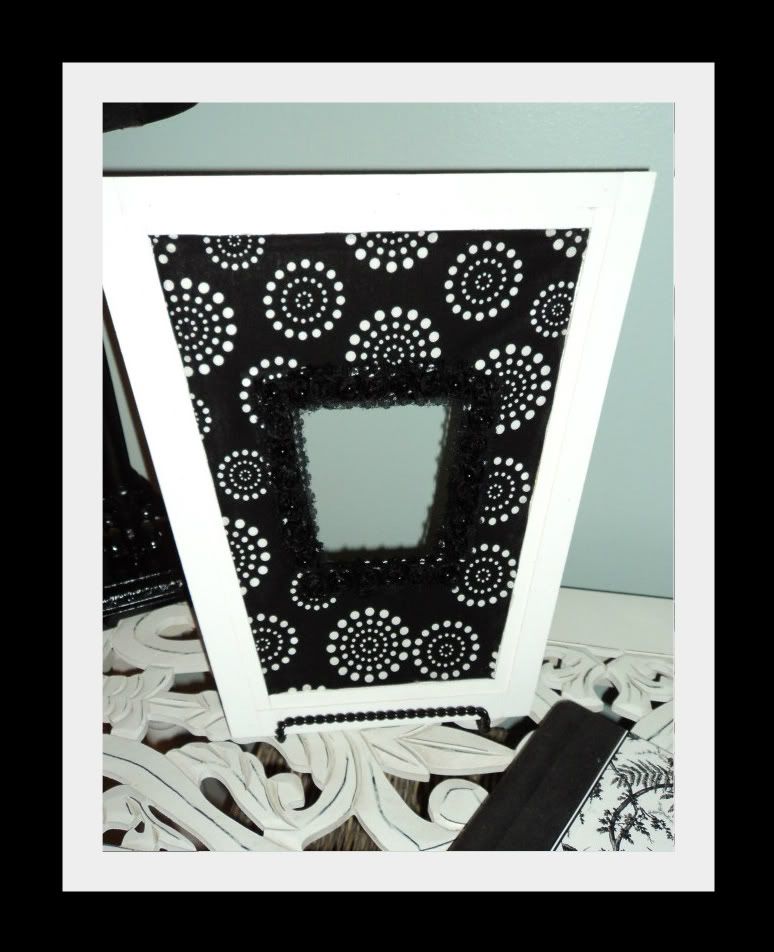
Then pull the edges and hot glue them down. To finish it off, I hot glued a pretty, rose & lace border around the picture opening. 
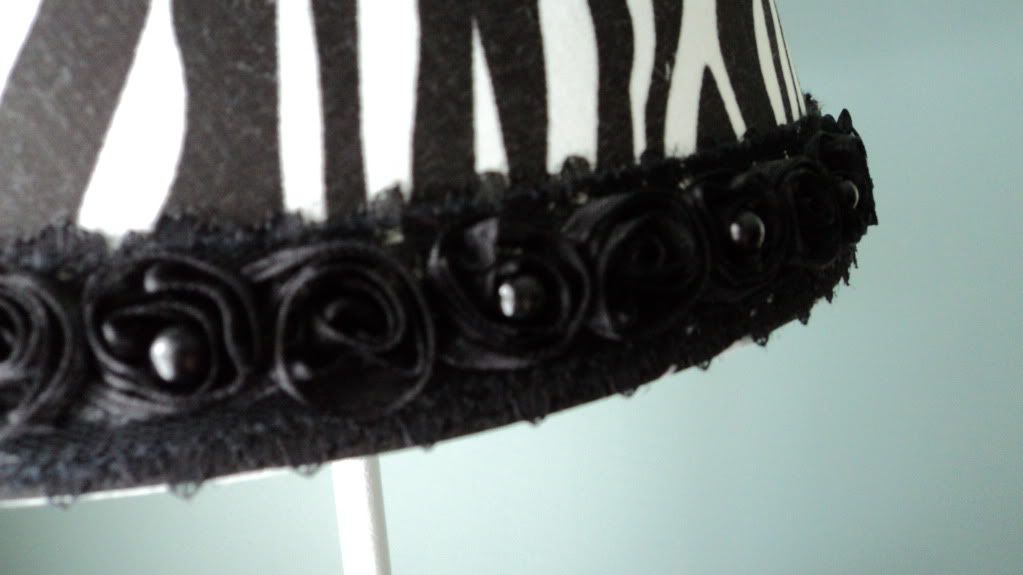
It's hard to see the border here, but with the lace I had left over, I bought 2 inexpensive lampshades and added some pretty to them. =)


For this super easy project, you'll need: fabric, frame (& as always the funkier the better), 
and a wooden letter
Trace along the middle of the frame on the backside of your fabric and cut about an inch extra 
all the way around. Pull the fabric tight around the edges and hot glue. 
Take your letter and hot glue it to where you want it.
And there you have it!

 Bella Nest linked up with:
The Shabby Nest